How Is Pudding Made from Scratch? – The Ultimate Guide
How Is Pudding Made from Scratch? – The Ultimate Guide
Pudding is one of the most beloved desserts across the world. Its creamy, rich texture paired with its versatile flavor options makes it a treat for people of all ages. Whether you’re making vanilla pudding, chocolate pudding, or exploring more exotic flavors like butterscotch or coffee, learning to make pudding from scratch gives you control over the ingredients, flavor, and consistency. It also allows you to experiment and create variations that suit your personal taste or dietary preferences.
In this comprehensive guide, we’ll cover everything you need to know about making pudding from scratch, including essential ingredients, step-by-step instructions, common mistakes to avoid, creative variations, and frequently asked questions. By the end, you’ll have all the tools you need to become a pudding-making pro.
Why Make Pudding from Scratch?
While store-bought pudding or instant pudding mixes might seem convenient, they can never quite match the quality and richness of homemade pudding. When you make pudding from scratch, you control every ingredient, ensuring that your pudding is made with real milk, fresh eggs, and other quality ingredients, without the preservatives and artificial flavors often found in packaged puddings.
Making pudding from scratch also gives you the flexibility to adjust the recipe according to your preferences. Want a deeper, richer vanilla flavor? Add more vanilla extract or even try using vanilla beans. Prefer a thicker consistency? Adjust the amount of cornstarch. With homemade pudding, you can cater the recipe to your exact tastes and dietary needs.
Essential Ingredients for Homemade Pudding
To make pudding from scratch, you only need a few basic ingredients, all of which play an important role in the final product’s texture, flavor, and consistency:
- Milk: The primary liquid in pudding, milk provides the base and the creaminess. You can use whole milk for a richer pudding or low-fat milk for a lighter version. Plant-based alternatives like almond milk or oat milk also work well in dairy-free puddings.
- Eggs: Eggs add richness and help thicken the pudding. Many recipes use only egg yolks, as they give pudding a silky texture. Some eggless pudding variations rely on cornstarch as the primary thickener.
- Sugar: Sugar sweetens the pudding. You can adjust the sugar quantity based on how sweet you like your pudding. Other sweeteners, such as honey, maple syrup, or coconut sugar, can be used as substitutes for regular sugar.
- Cornstarch or Flour: Cornstarch is the key thickening agent in most puddings, helping to achieve that smooth, thick texture. Flour can also be used as a thickener in some recipes, but cornstarch provides a more delicate finish.
- Butter: Butter adds richness and a creamy mouthfeel to the pudding, especially in flavors like butterscotch or chocolate pudding.
- Flavorings: Vanilla extract, cocoa powder, or melted chocolate are commonly used flavorings. You can also experiment with other flavors like caramel, coffee, and citrus zest.
If you love a classic dessert, try this Classic Vanilla Pudding Recipe for a step-by-step guide to making a traditional pudding.
Tools You Need for Making Pudding
The tools required to make pudding from scratch are simple, and most are already in your kitchen:
- Saucepan: A heavy-bottomed saucepan is essential for heating the milk, sugar, and other ingredients evenly without scorching the bottom.
- Whisk: A whisk is your best friend when making pudding, ensuring the ingredients combine smoothly without forming lumps.
- Mixing bowls: Use these for tempering the eggs or for combining other ingredients before adding them to the saucepan.
- Spatula: This tool helps scrape down the sides of the saucepan and stir the pudding while it cooks.
Step-by-Step Guide to Making Pudding from Scratch
Step 1: Heat the Milk and Sugar
The first step in making pudding from scratch is to heat the milk. Pour your milk into a medium-sized saucepan and place it over medium heat. Add the sugar and whisk it into the milk until it dissolves completely. Make sure to stir constantly, as this prevents the milk from scorching and keeps the sugar evenly distributed.
Do not bring the milk to a full boil—keep it at a simmer to avoid burning or curdling. Heating the milk gently ensures that it will mix smoothly with the eggs in the next step.
Step 2: Temper the Eggs
Tempering the eggs is a crucial step in making homemade pudding. If you add the eggs directly to the hot milk, they will cook too quickly and scramble, leading to an unpleasant texture.
To temper the eggs, whisk them in a separate bowl. Gradually add a small amount of the hot milk mixture into the eggs while whisking continuously. This process slowly raises the temperature of the eggs without cooking them. After tempering, you can slowly pour the egg mixture back into the saucepan, whisking constantly to combine.
Tempering eggs not only avoids curdling but also contributes to the pudding’s richness and velvety texture. Learn more about tempering eggs for rich and creamy desserts from this Rich Homemade Pudding Guide.
Step 3: Thicken with Cornstarch or Flour
Cornstarch (or flour, in some recipes) is what thickens the pudding and gives it its smooth, luscious texture. Before adding it to the saucepan, you need to dissolve the cornstarch in a small amount of cold water or milk to create a slurry. This ensures that the cornstarch will mix evenly without forming lumps.
Once the slurry is ready, slowly pour it into the hot milk mixture while whisking continuously. As you stir, the pudding will begin to thicken. Be patient—it can take several minutes of cooking for the pudding to reach the desired consistency. The mixture should coat the back of a spoon when it’s ready.
Step 4: Add Flavorings
Once your pudding has thickened, it’s time to add flavorings. Vanilla extract is the most common choice for vanilla pudding, but you can also add other extracts like almond or coconut for a unique twist. If you’re making chocolate pudding, stir in cocoa powder or melted chocolate at this stage. For butterscotch pudding, brown sugar and butter are added earlier in the process to achieve that rich caramel flavor.
You can also enhance the flavor of your pudding by infusing the milk with spices like cinnamon or cardamom before combining it with the other ingredients.
Step 5: Cook to the Perfect Consistency
Once all your ingredients are combined, continue cooking the pudding over medium heat, stirring constantly to prevent it from sticking to the bottom or forming lumps. The pudding should be thick enough to coat the back of a spoon, but still smooth and pourable.
If your pudding becomes too thick, you can thin it out by whisking in a small amount of additional milk. Conversely, if it’s too runny, you can continue cooking it for a few more minutes to allow it to thicken.
After achieving the desired consistency, remove the pudding from the heat and let it cool for a few minutes before transferring it to serving dishes.
Common Mistakes and How to Avoid Them
Even though pudding is relatively simple to make, there are a few common mistakes that can affect the final product. Here are some pitfalls to watch out for and tips on how to avoid them:
1. Overcooking or Undercooking the Pudding
One of the most common mistakes when making pudding is overcooking or undercooking it. Overcooked pudding can become too thick and may curdle, while undercooked pudding will be too runny and lack structure.
To avoid this, cook the pudding over medium heat and keep a close eye on it as it thickens. The pudding is ready when it coats the back of a spoon and holds its shape when stirred.
2. Not Tempering the Eggs Correctly
Tempering the eggs is a crucial step that can’t be skipped. If you add the eggs to the hot milk mixture too quickly, they will scramble, resulting in a lumpy texture. Always take your time when tempering the eggs, gradually adding the hot milk to the eggs while whisking constantly.
3. Lumpy Pudding
Lumps in pudding can result from improper whisking or uneven thickening of the cornstarch. To prevent lumps, whisk constantly as the pudding cooks and always dissolve the cornstarch in cold liquid before adding it to the hot mixture.
If your pudding does end up lumpy, you can strain it through a fine-mesh sieve to smooth it out before serving.
Creative Variations of Homemade Pudding
Once you’ve mastered the basic technique for making pudding, there are endless ways to customize and enhance your recipe. Here are a few creative variations you can try:
Flavored Puddings
- Mint Chocolate Pudding: For a refreshing twist on chocolate pudding, add a few drops of peppermint extract. This is especially delicious when served with whipped cream and chocolate shavings.
- Coffee Pudding: Stir in a teaspoon of instant coffee or espresso powder to create a rich, coffee-flavored pudding. Pair it with chocolate or caramel for a decadent dessert.
- Lemon Pudding: Add lemon zest and a splash of fresh lemon juice to make a tangy, refreshing pudding. This variation pairs well with fresh berries or a drizzle of honey.
Layered Puddings and Parfaits
One fun way to elevate your pudding is by creating layered desserts or parfaits. Simply alternate layers of pudding with fresh fruits, crumbled cookies, or whipped cream to create a visually stunning and delicious treat.
For example, you can layer vanilla pudding with sliced strawberries and crushed graham crackers for a summery parfait, or use chocolate pudding with crushed Oreo cookies for a crowd-pleasing dessert.
Pudding as an Ingredient in Baked Desserts
Pudding is not only delicious on its own, but it also makes a fantastic addition to other desserts. Here are a few ways you can incorporate homemade pudding into your baking:
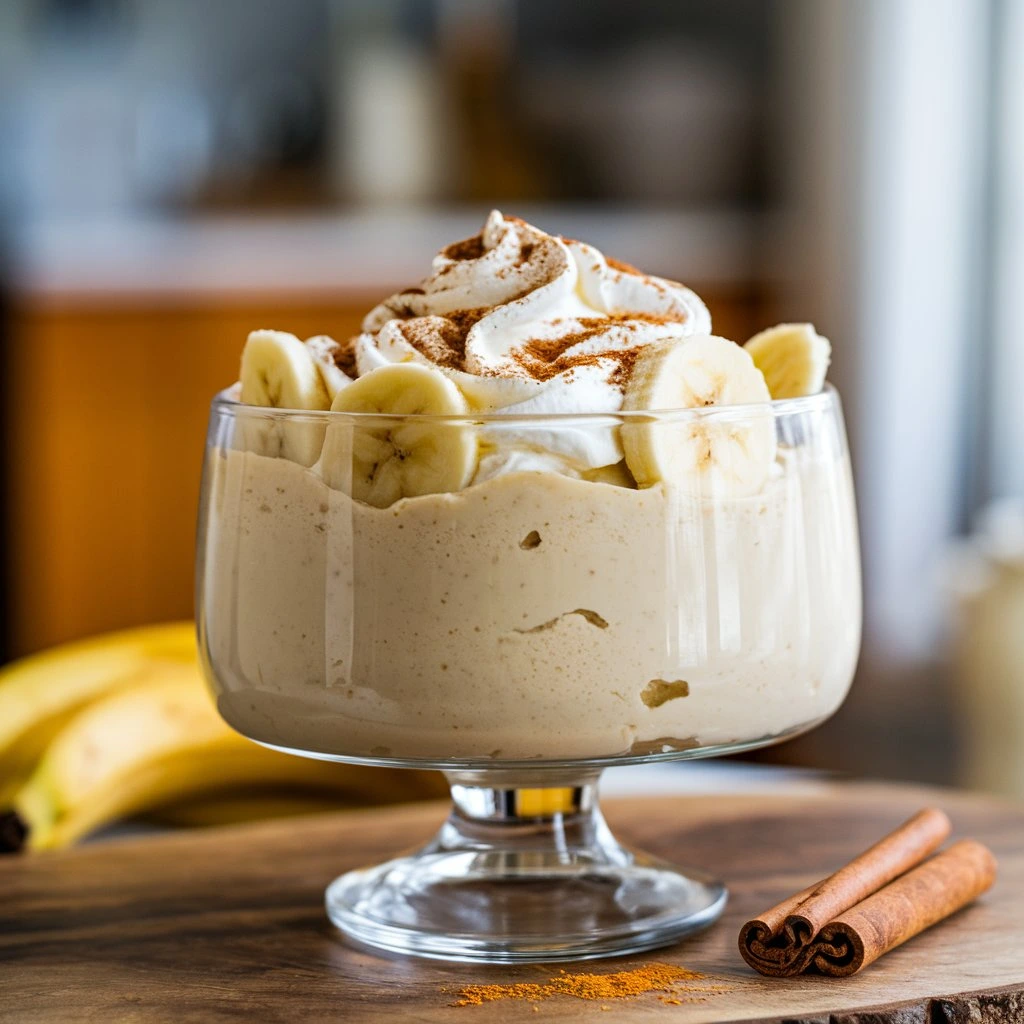
- Banana Pudding Pie: Use your homemade vanilla pudding as the filling for a banana cream pie. Layer it with fresh banana slices and top with whipped cream for a delightful treat.
- Boston Cream Pie: A layer of homemade vanilla pudding can be used as the filling in a Boston cream pie, sandwiched between two layers of sponge cake and topped with chocolate ganache.
- Pudding Cake: Stir your pudding into a cake batter for an extra moist and flavorful dessert. This works especially well in chocolate and vanilla cakes.
For more dessert ideas, check out this Easy Banana Pudding Recipe to add to your pudding repertoire.
Frequently Asked Questions (FAQs)
1. Can I make pudding without eggs?
Yes, you can make egg-free pudding by using cornstarch as the primary thickening agent. This method is great for those with egg allergies or those looking for a lighter, plant-based dessert.
2. What’s the difference between custard and pudding?
While both custard and pudding are creamy desserts, custard typically contains more eggs and is thicker, often baked in the oven. Pudding, on the other hand, is usually thickened with cornstarch and is cooked on the stovetop.
3. Can I use plant-based milk for pudding?
Absolutely! You can substitute dairy milk with almond milk, soy milk, oat milk, or coconut milk to make a dairy-free pudding. Keep in mind that different plant-based milks will impart their own flavors and may slightly alter the texture.
4. How should I store homemade pudding?
Homemade pudding should be stored in the refrigerator in an airtight container. It will last for up to 4 days. To prevent a skin from forming on the surface of the pudding, press a piece of plastic wrap directly onto the surface.
Conclusion
Making pudding from scratch is a fun and rewarding process that results in a delicious, creamy dessert far superior to any store-bought alternative. With just a few simple ingredients like milk, eggs, and cornstarch, you can create a variety of puddings, from classic vanilla and chocolate to more adventurous flavors like coffee or lemon.
Whether you’re making a simple pudding for dessert or incorporating it into more elaborate baked goods, mastering the art of homemade pudding will open up a world of culinary possibilities. For more pudding inspiration, explore this Easy Banana Pudding Recipe for another delicious take on this classic treat.